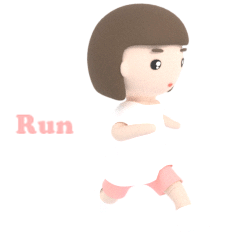
こちらは、Blenderを使って制作したGIFアニメーションです。3Dモデリング、テクスチャリング、リギング、レンダリングまで行いました。その後、After Effectsでアニメーションテキストの追加やGIFの長さ調整などの編集を行い、SNS用のGIFスタンプとして書き出しています。
My Procedure Snapshot
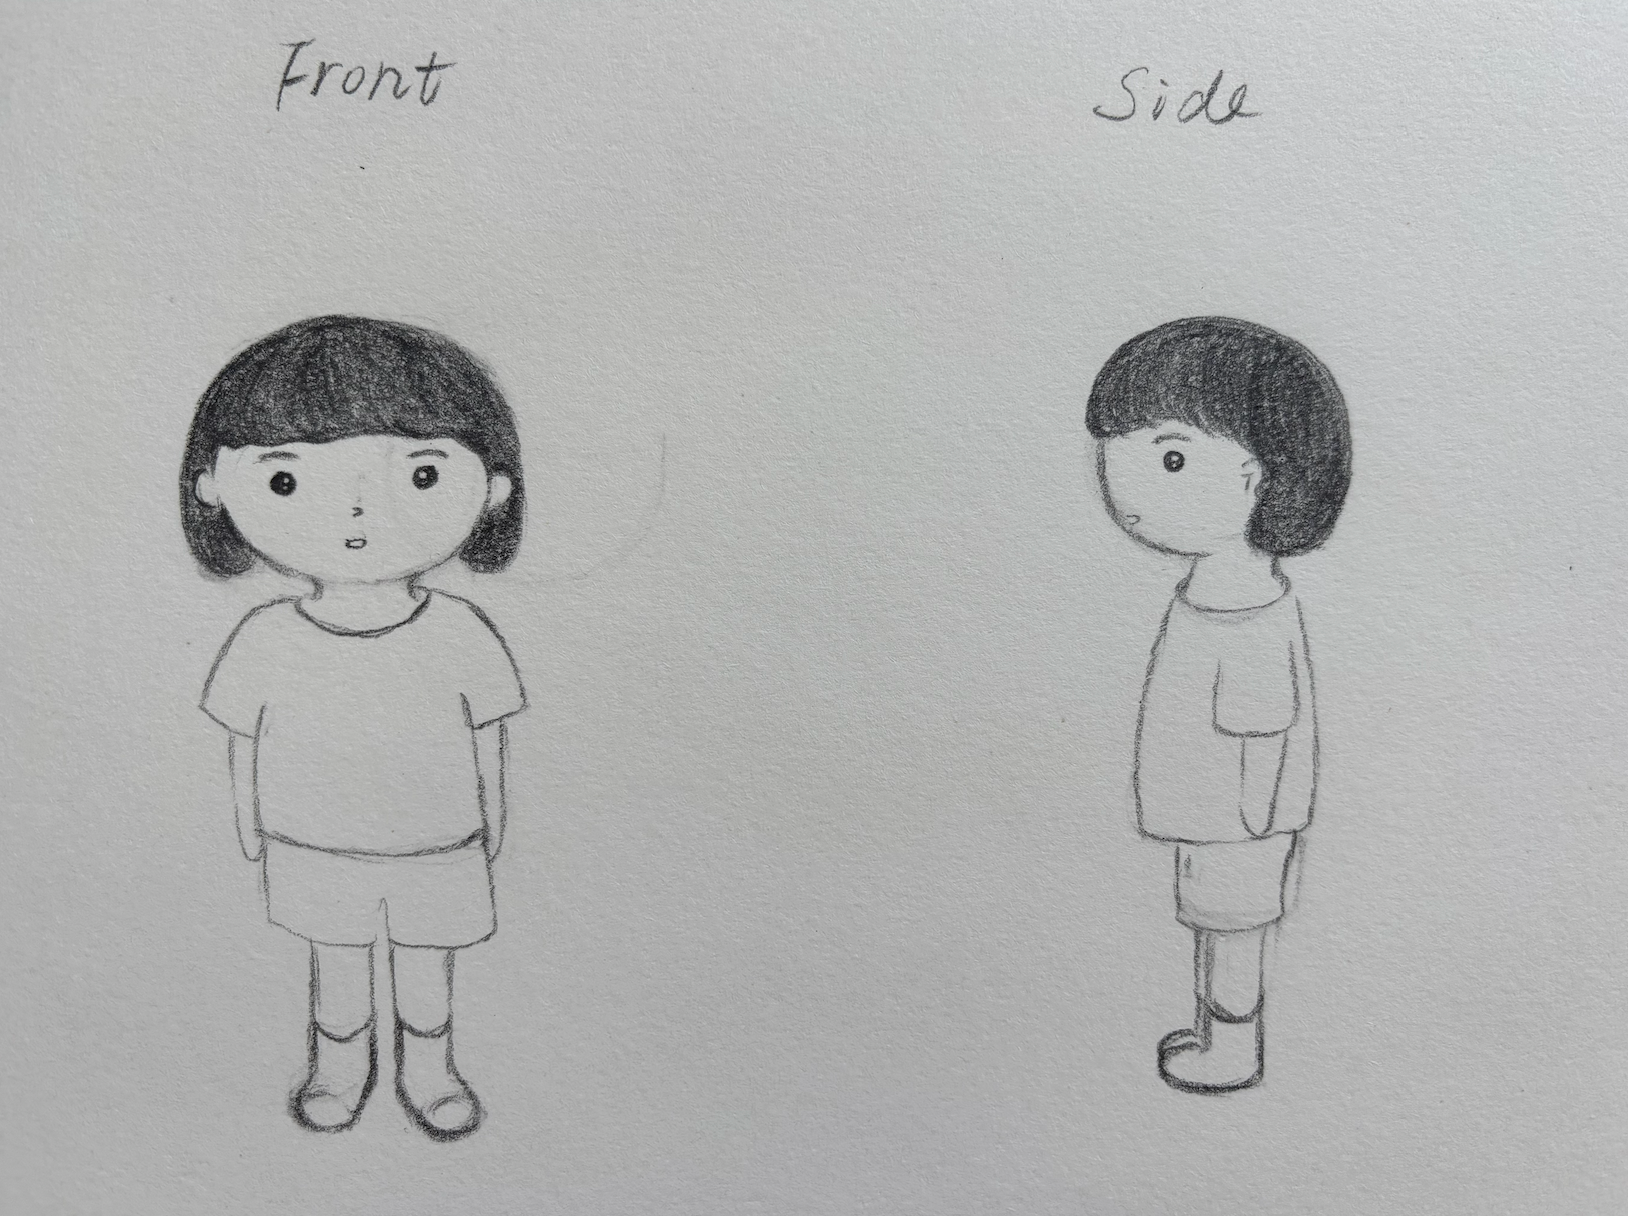
ステップ1:3Dモデリング
キャラクターの大まかなアウトラインを、紙の上に想像しながらスケッチします。
そのスケッチをBlenderに取り込み、ガイドとして使いながら、シンプルな立方体・球体・円柱を使ってキャラクターをモデリングしていきます。
そのスケッチをBlenderに取り込み、ガイドとして使いながら、シンプルな立方体・球体・円柱を使ってキャラクターをモデリングしていきます。
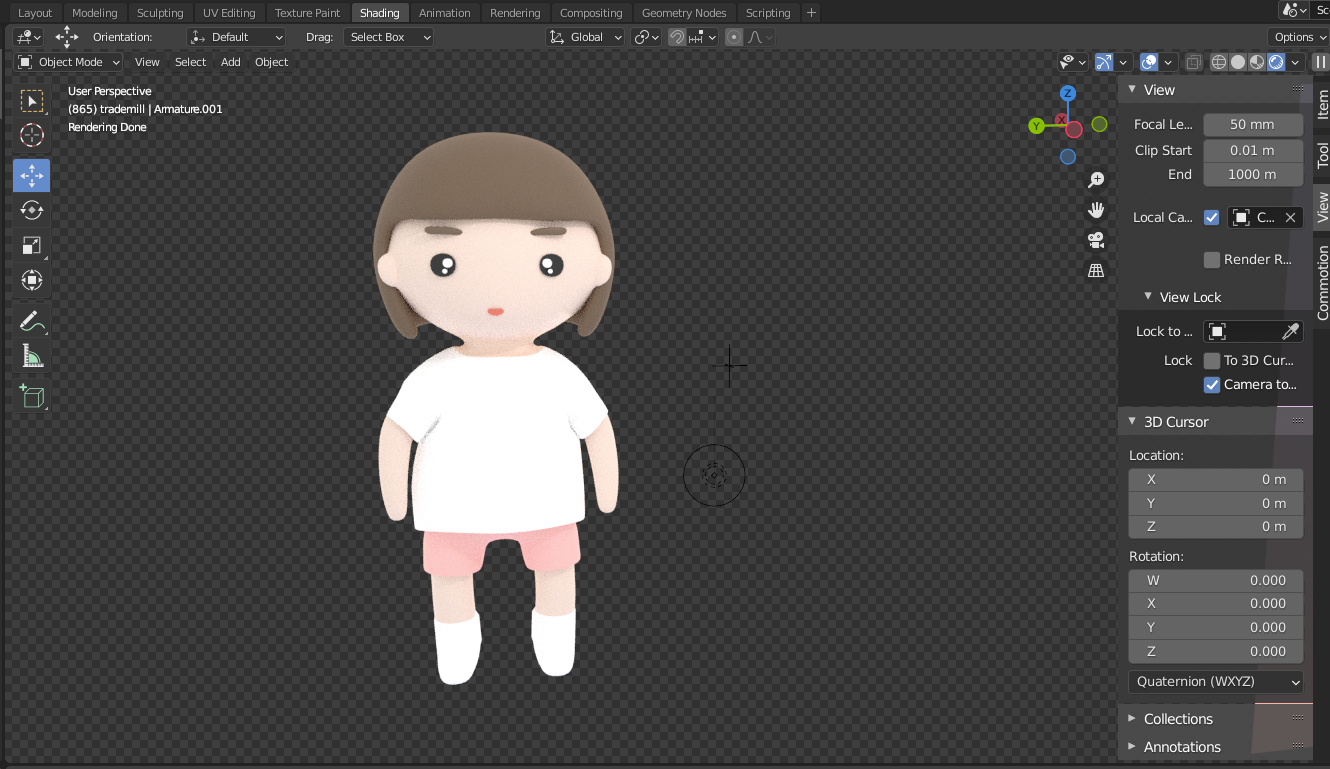
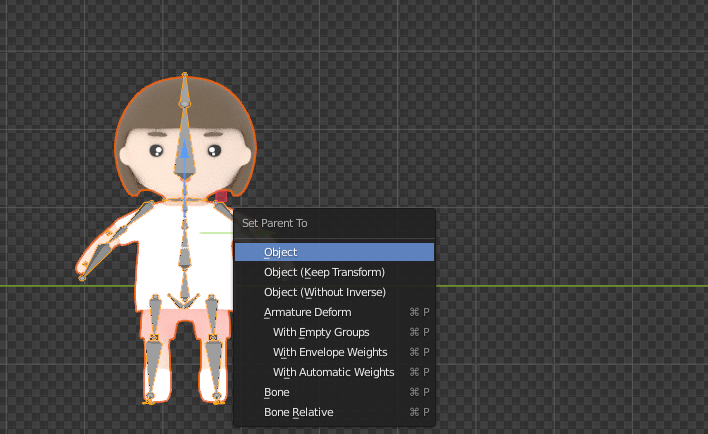
Step 2: Rigging
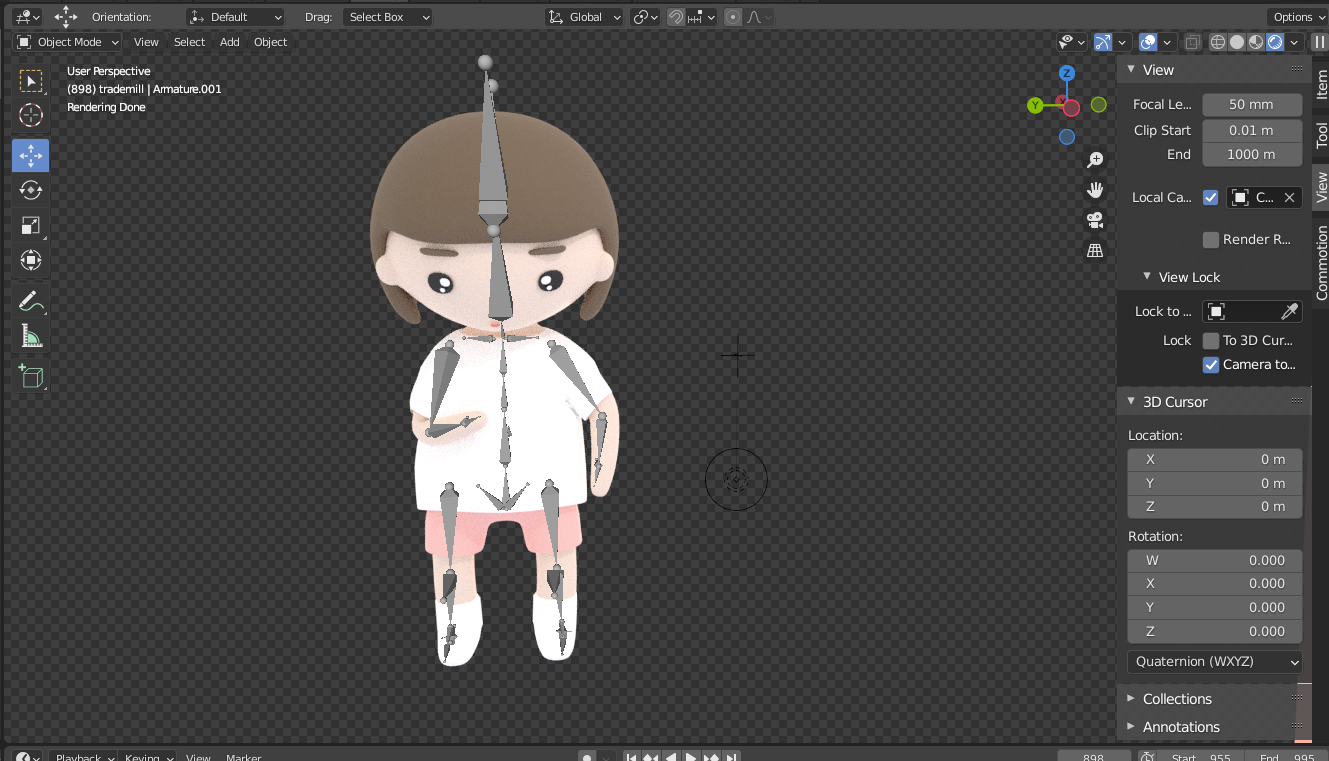
Then, I used the default human rig to match it with the character, making sure the head, neck, arms, legs, and hips all align with the 3D character. Then I would assign the rig as the parent of the object.
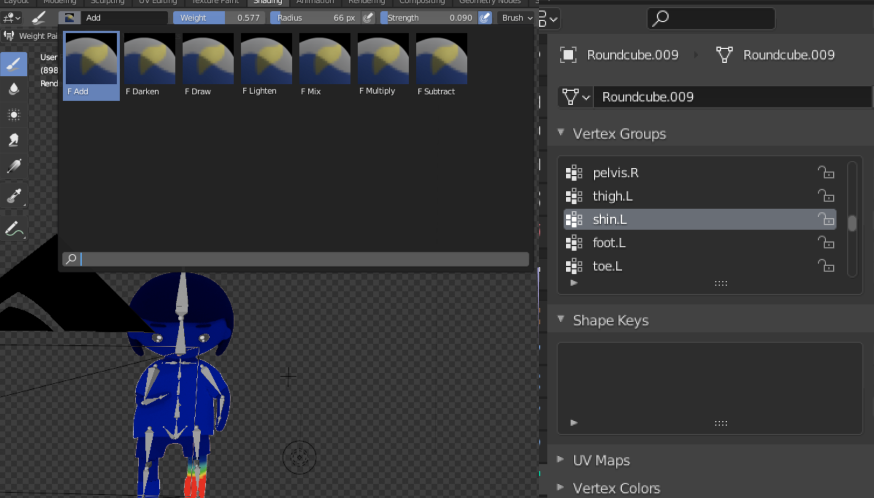
Step 3: Weight-painting
After parenting, I need to weight-paint the connection between the rig and the character’s body. I make sure the main rig drives the body, giving it more weight, while the sub-rig has less weight. I iterated many times until the body no longer moved weirdly when adjusting the rig.
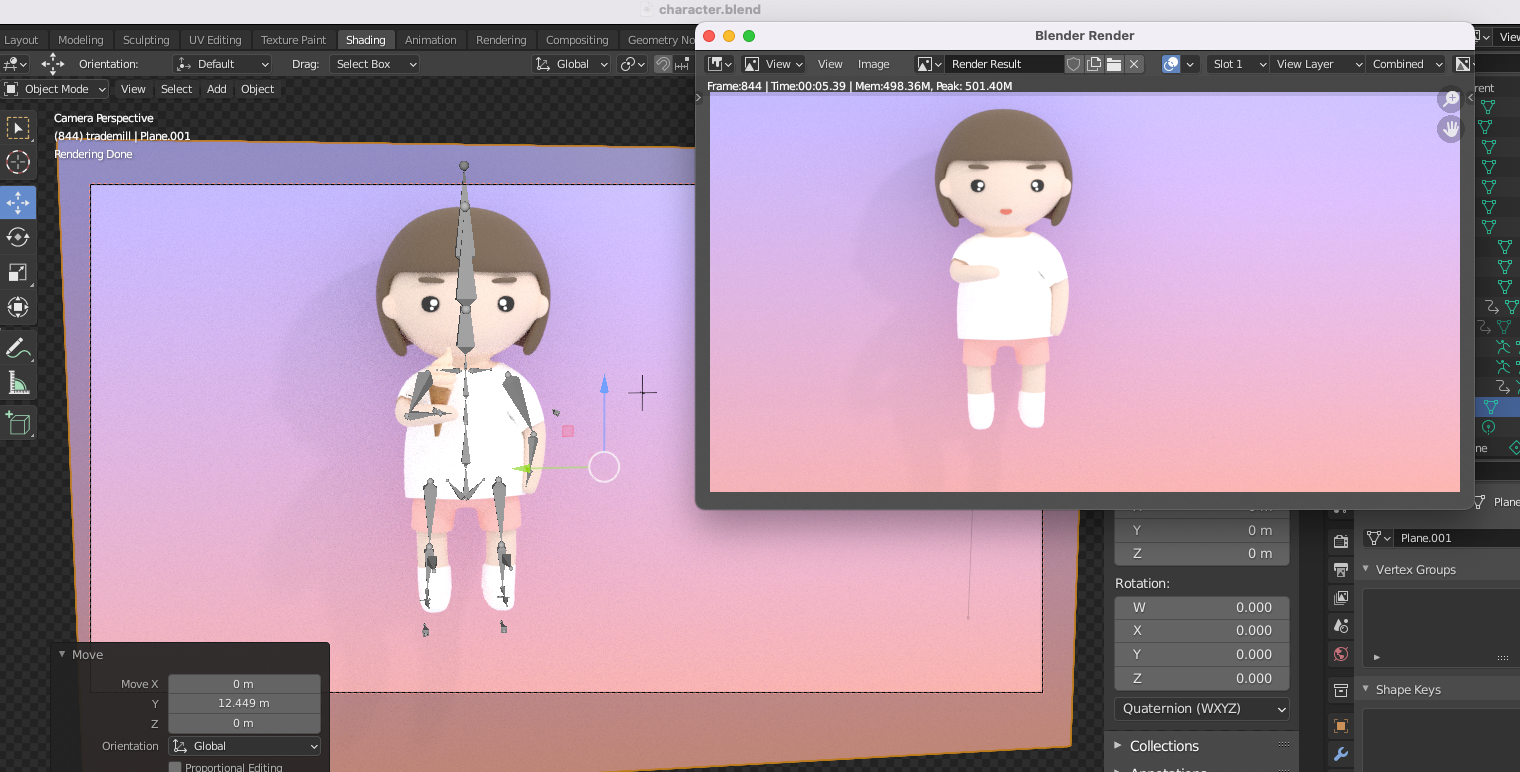
Step 4: Acting and Rendering
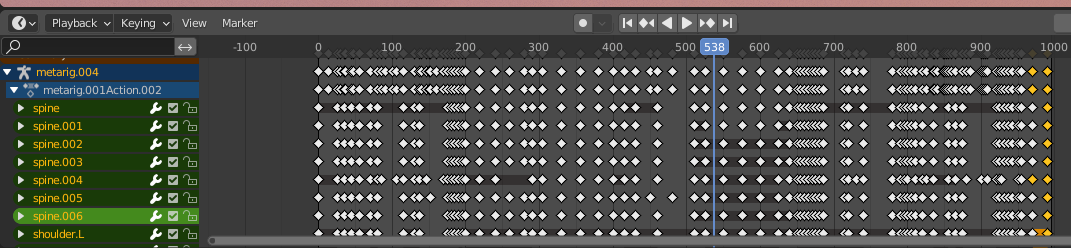
Then the last step is acting and animating with the timeline. Then I exported them into multiple pngs for future making of gifs.
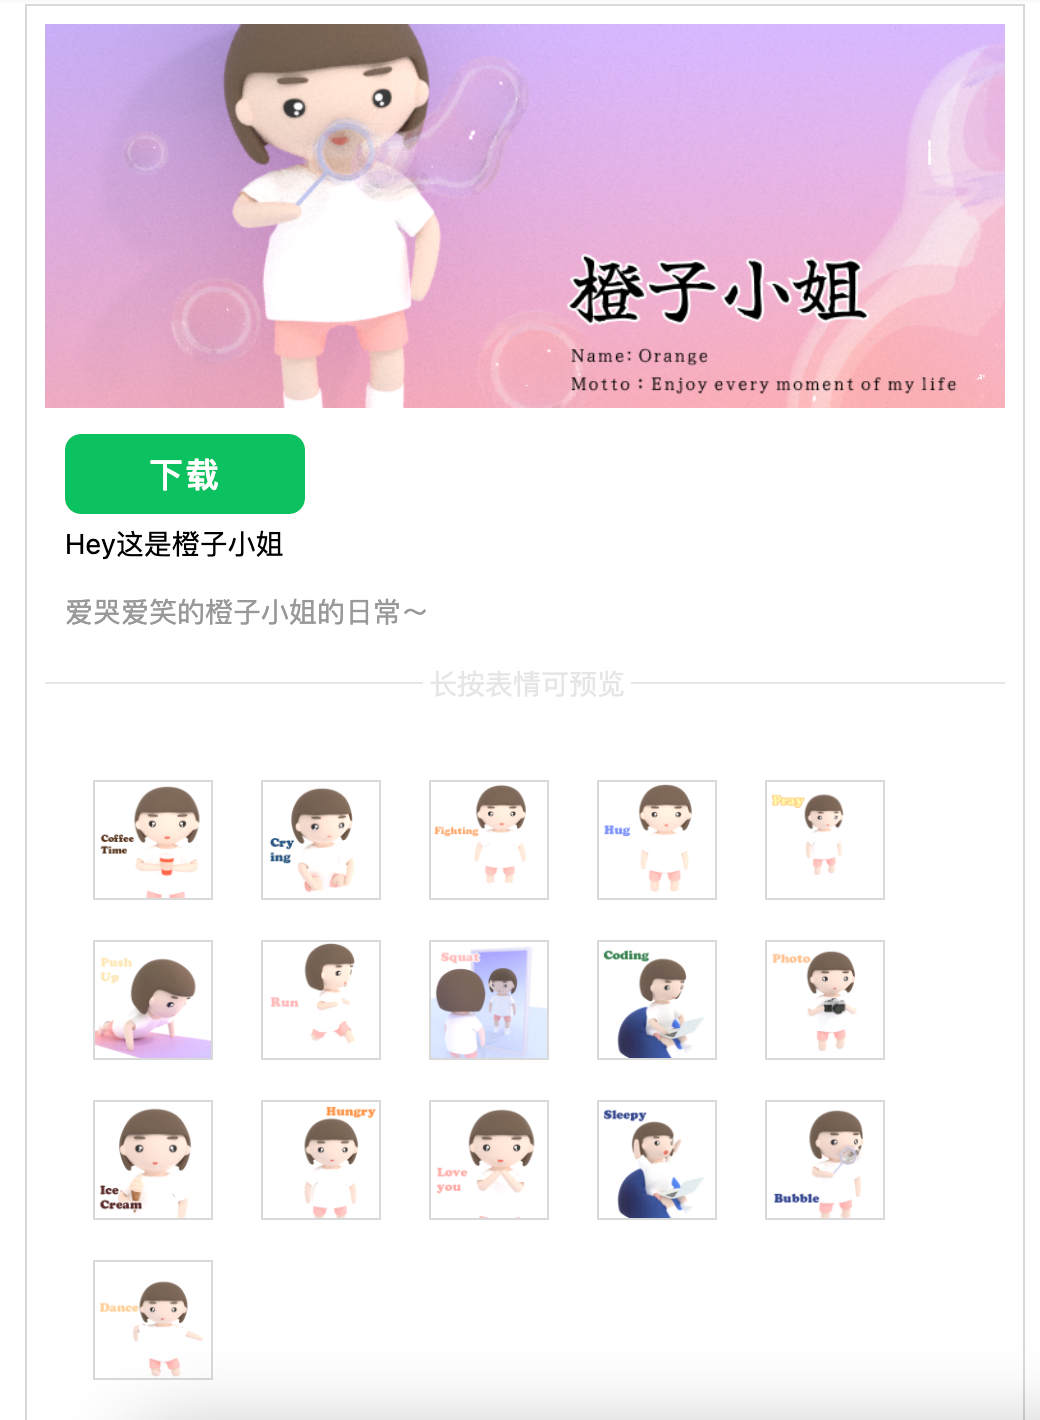
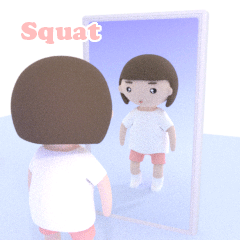
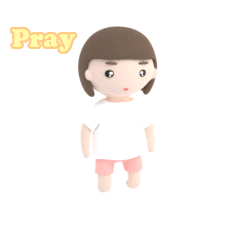
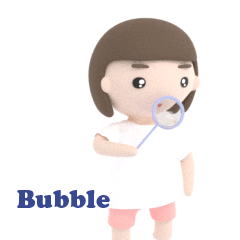
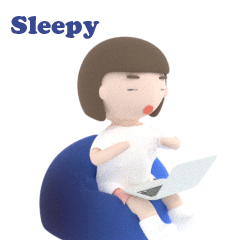
こちらがSNSアプリ用の最終的なデジタルスタンプです。LINEスタンプのような形式になっています。